Message Sending
Message sending consists of 2 parts.
- Sent Messages
- Create Bulk Post
Sent Messages
The screen where the messages sent from the service are listed. By default the data for the last week is listed to include; the name of the post, the date the post was made, the number of users that posting has been made, and the details of the post.
Create Bulk Post
Create Bulk Post, as seen in the screenshot; it is an editor screen which post content is created on the left and the summary of the post is shown on the right. On the Create Bulk Post screen
- Text
- Audio
- Image
- Caps
- Sticker
- Media Message
- Poll
can be created and sent.
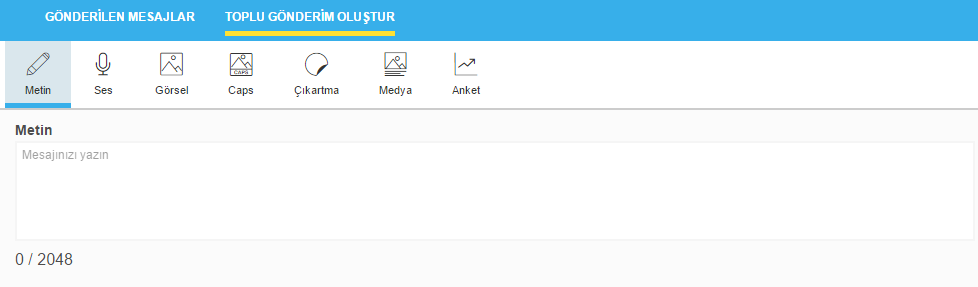
Text
The size of the content to be added and sent as a text message can be up to 2048 characters.
Audio File
The size of the file to be added and sent as a sound file must not be larger than 5 MB and the file type must be in .mp4, .wav, .aac, or .mp3 format.
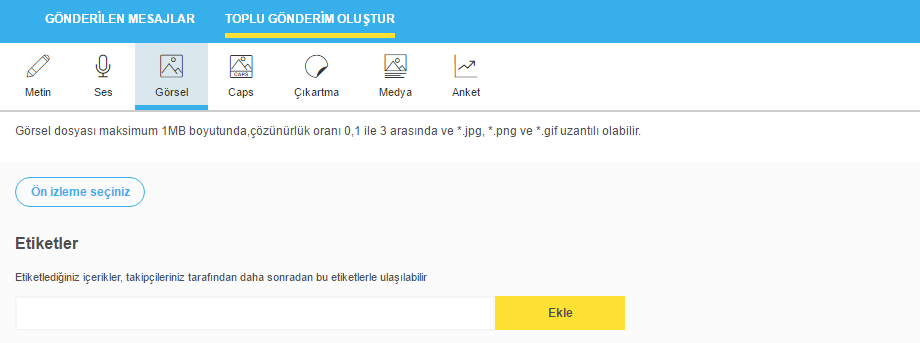
Image
The size of the file to be added and sent as an image must not be larger than 1 MB and the file type must be in .jpg, .png, or .gif format.
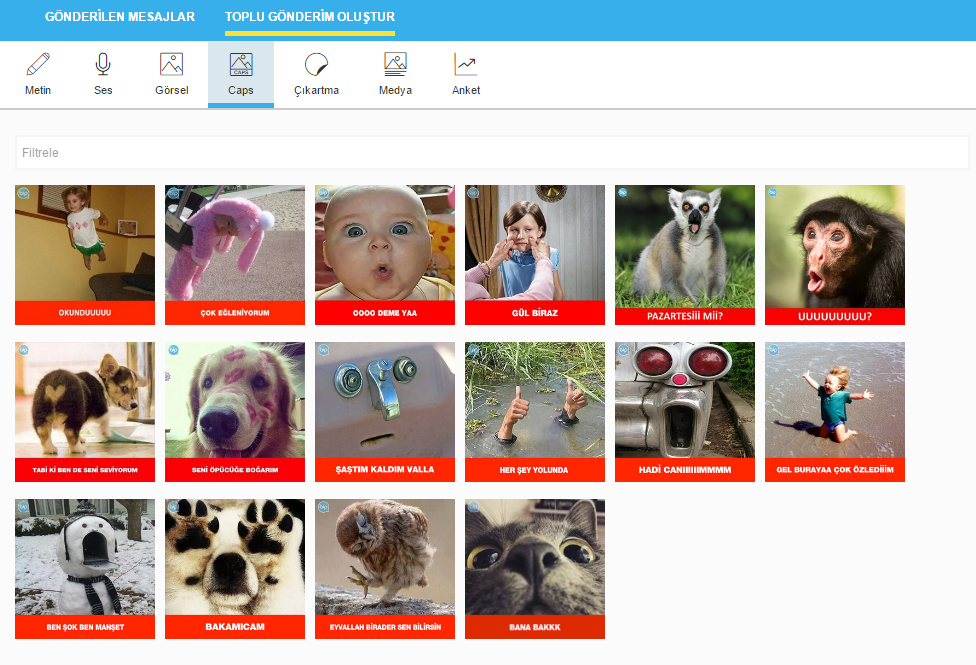
Caps
CAPSs used by users in the BiP in 1-1 or group messaging can also be sent from the services. Caps can be selected by picker or by searching for labels.
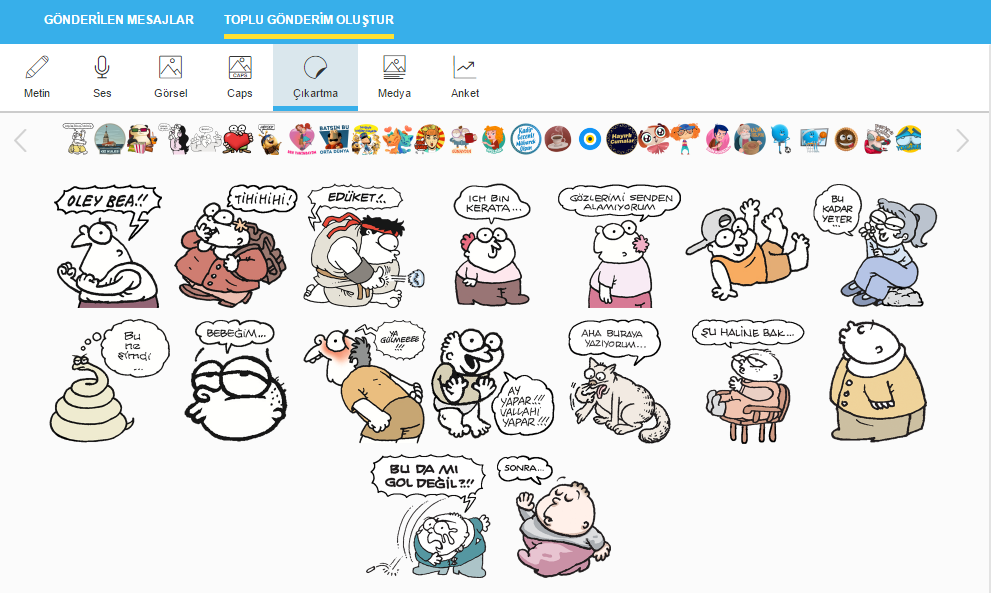
Stickers
“Stickers” used by users in the BiP in 1-1 or group messaging can also be sent from the services. Stickers can be selected from the categories.
Media
Template media messages; can be sent in four types: single, multiple, fast reply and carousel. 1- Single Media Message Each field belonging to the template is created from the selection boxes on the right. When creating the template, the image of the message on the client is updated on the left.
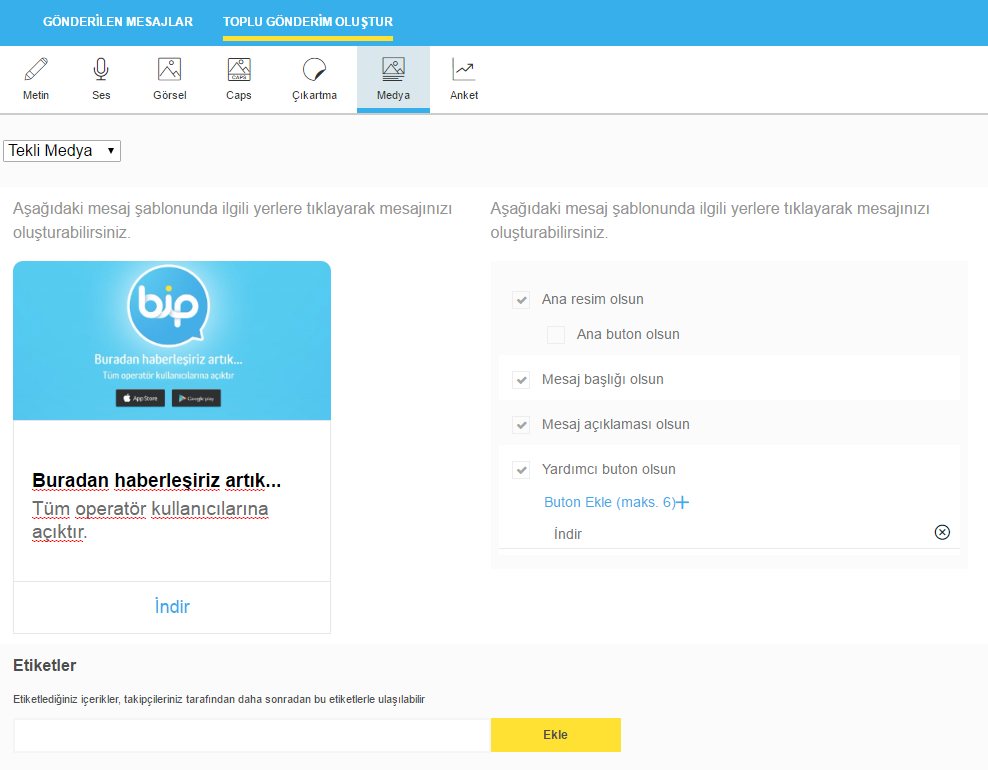
Main Image: Click on the image field to select the image. The images should be in the ration of 1:2 and are optional. Preferably, a button can be added on the image. A video file can be uploaded to the media via the button or redirected to a URL. The URL must start with https:// and it must be a valid url.
Message Title: Text can be entered by clicking on the message title field. It is optional and should be a maximum of 200 characters.
Message Detail: Text can be entered by clicking on the message detail field. It is optional and should be a maximum of 400 characters.
Auxiliary Button: A maximum of 6 auxiliary buttons can be added from the Template field. Auxiliary buttons can return a text value as if it were written by the user to service or redirect it to a URL. The text of the buttons should be a maximum of 20 characters. The payload value should be a maximum of 100. 2- Multi Media Message Each field belonging to the template is created from the selection boxes on the right. When creating the template, the image of the template on the client is updated on the left.
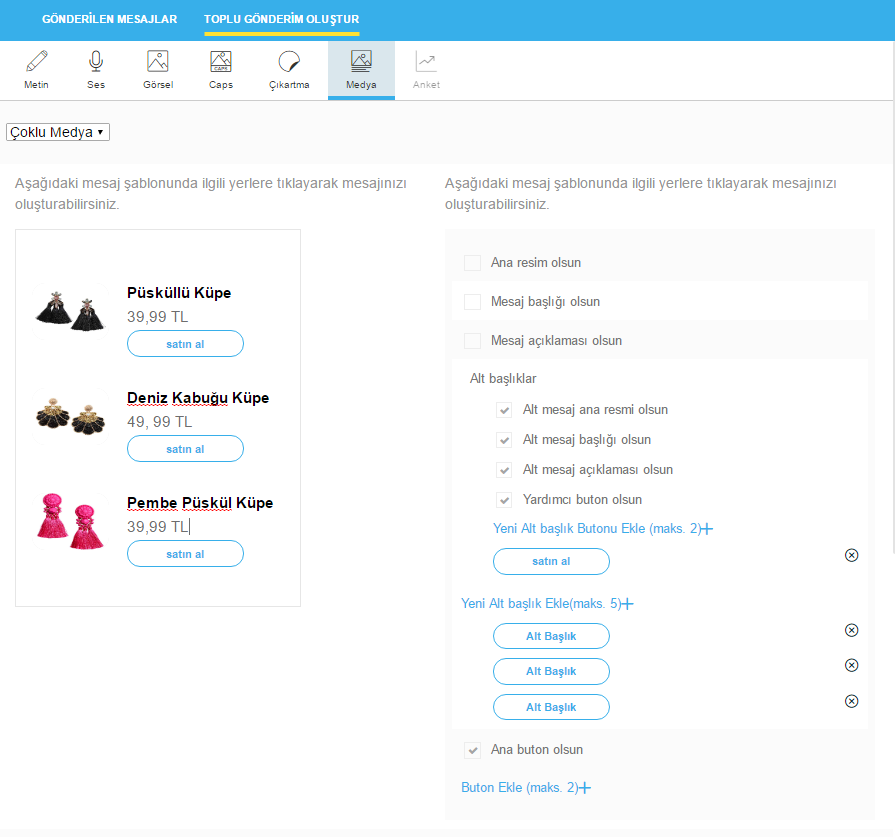
Main Image: Click on the Main Image field to select the image. The images should be in the ratio of 1:2 and are optional. Preferably, a button can be added on the image and the button can be directed to a URL. The URL must start with https:// and it must be a valid.
Message Title: Text can be entered by clicking on the message title field. It is optional and should be a maximum of 200 characters.
Message Detail: Text can be entered by clicking on the message detail field. It is optional and should be a maximum of 400 characters
Subtitle: Minimum 2 maximum 5 subtitles can be added. The templates in the subtitles must be the same and the image ratio should be 1. Auxiliary
Button: A maximum of 2 auxiliary buttons can be added from the Template field. Auxiliary buttons can return a text value as if it were written by the user to service or redirect it to a URL. The text of the buttons should be a maximum of 2 characters. The button name should be a maximum of 20, and the payload value should be a maximum of 100. 3- Quick Reply Each field belonging to the Template is created from the selection boxes on the right. When creating the template, the image of the template on the client is updated on the left.
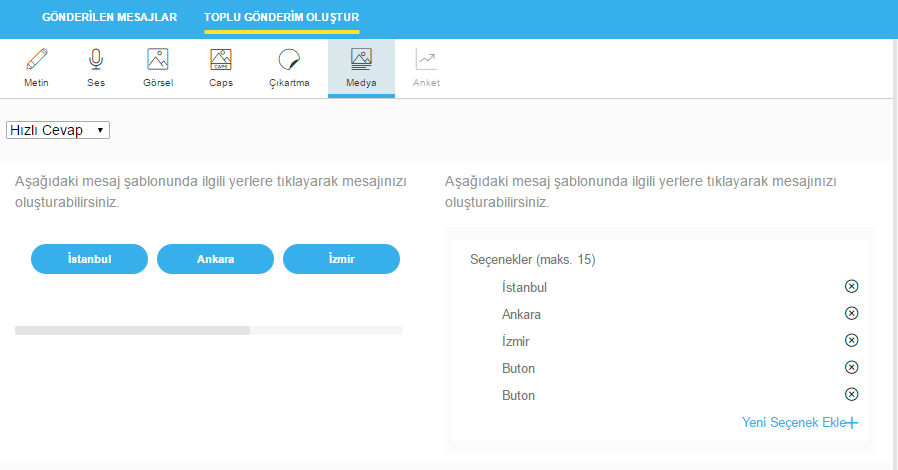
Button: The buttons can be minimum 2 maximum 15 ea. The quick reply buttons can only be of the postback type and the user-selected button title is transmitted as a message from the user to the service. The message will disappear when the user clicks any button on the message. 4- Crousel Media Message Each field belonging to the template is created from the selection boxes on the right. When creating the template, the image of the template on the client is updated on the left. The Carousel Media message can be minimum 2 maximum 15 ea. Each slider should have the same template.
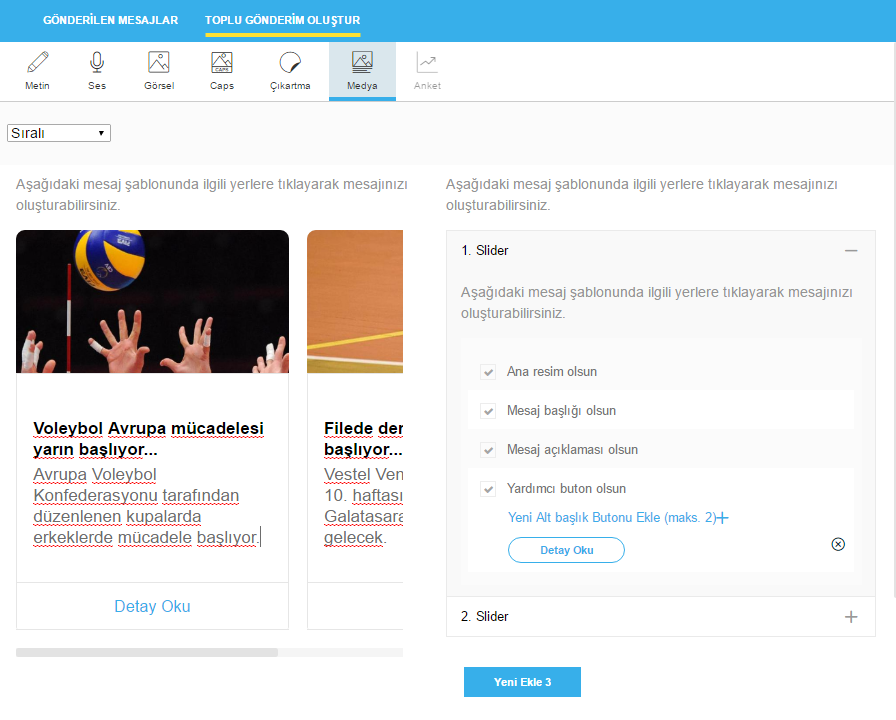
Main Image: Click on the image field to select the image. The images should be in the ratio of 1:2 and are optional.
Message Title: Text can be entered by clicking on the message title field. It is optional and should be a maximum of 200 characters.
Message Detail: Text can be entered by clicking on the message detail field. It is optional and should be a maximum of 400 characters.
Auxiliary Button: A maximum of 2 auxiliary buttons can be added from the Template field. Auxiliary buttons can return a text value as if it were written by the user to service or redirect it to a URL. The text of the buttons should be a maximum of 20 characters. The payload value should be a maximum of 100 characters.
Poll
Each field belonging to the Template is created from the selection boxes on the right. When creating the template, the image of the template on the client is updated on the left. Two different polls can be prepared, including single choice and multiple choices.
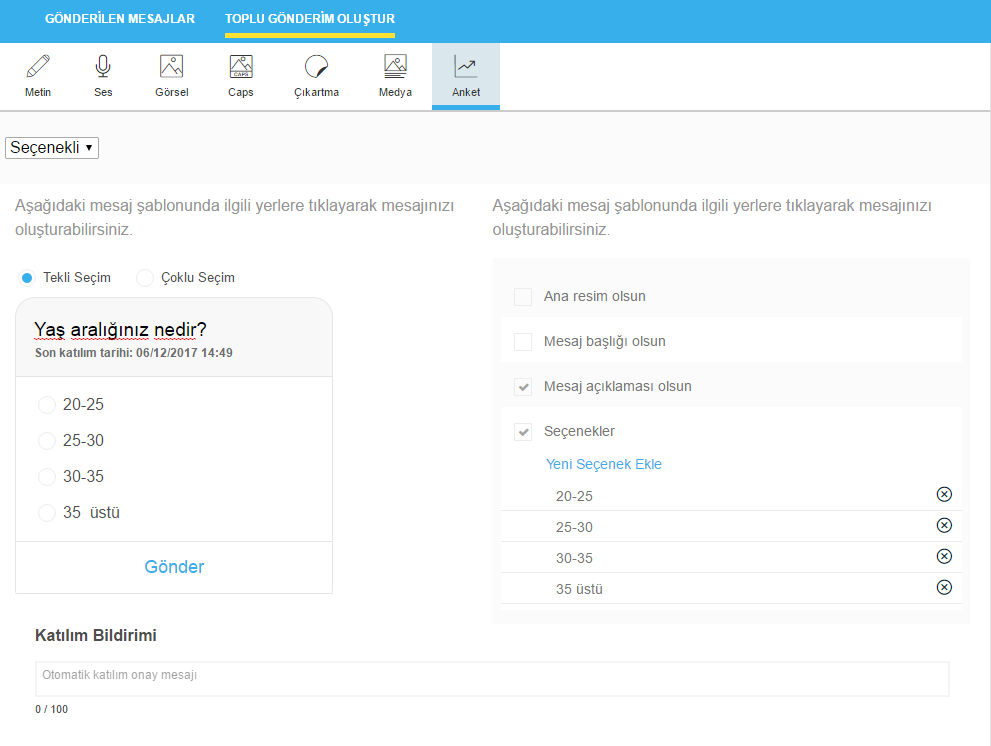
Main Image: Click on the image field to select the image. The images should be in the ratio of 1:2 and are optional.
Message Title: Text can be entered by clicking on the message title field. It is optional and should be a maximum of 200 characters.
Message Detail: Text can be entered by clicking on the message detail field. It is optional and should be a maximum of 400 characters.
Option: A maximum of 6 options can be added from the Template field. Should be a maximum of 20 characters. Action
Button: By clicking on the action button, the text of the action to be received when the user responds the poll is defined. Should be a maximum of 20 characters.