Sign In
Sign In
First Entry to the System and Apply for the Service
Click on the activation link sent to the e-mail address and go to the Panel. A permanent password is obtained and the system is logged in.

In the first log in to the panel, the user is directed to the new service creation screen, since no service has been defined for the user’s account yet. Service application consists of two stages; Service Definitions and Html Design.
In the first log in to the panel, the user is directed to the new service creation screen, since no service has been defined for the user’s account yet.
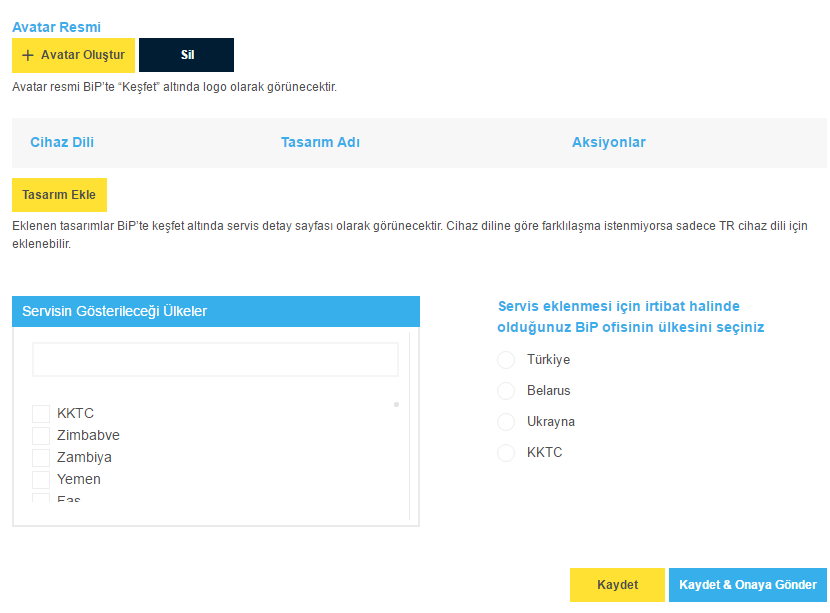
Information required for service descriptions: avatar image, service design screen design, country selection to show service, and country selection of Beep Office to be contacted.

Service Design consists of two sections; service definitions and Html design. Information required in service descriptions; device language, service name, service brief description and welcome message. The service design can be created more than one by differentiating the device language and display the relevant design according to the user’s selected device language.
After preparing the Service definitions and Html design, as the first step, the service in the Demo status is submitted for the relevant BiP Office’s approval for the purpose of getting the Demo Approval and test by selecting “Save&Send to Approval”. Demo numbers should be added in order to test the service in demo status on BiP Client.
If the Service obtains Demo approval, all necessary scenarios and settings of the service become editable. When the service is ready for transfer to Live and available for the use of all users, it is sent for Live Approval by selecting “Ready for Live” option from the Service Settings screen.
If the Service Receives the Live Approval, it will take its place under Discover to be viewed by all BiP users within two hours at the latest.

